Jump to:
Educational Information and Resources
Steps and Resources for Creating Your Film
Support and Crisis Resources
988 Suicide & Crisis Lifeline: The 988 Suicide & Crisis Lifeline is a 24-hour, toll-free, confidential suicide prevention hotline available to anyone in suicidal crisis or emotional distress.
- Call or text 988
- Lifeline Crisis Chat: suicidepreventionlifeline.org (available 24/7)
Teen Line: Teen Line is a teen to teen hotline where teens can call, text or email about anything they are struggling with. Teen Line is staffed by trained teen listeners who understand what it is like to be a teen. No problem is too small, too large, or too shocking for the Teen Line volunteers.
- Call 1-800-852-8336 (from 6 p.m. to 10 p.m. PST)
- Text TEEN to 839863 (from 6 p.m. to 9 p.m. PST)
- teenline.org
- @teenlineonline
Crisis Text Line: Connect with a crisis counselor 24/7 to receive high quality text-based mental health support and crisis intervention.
- Text HOPE to 741-741
- crisistextline.org
The Trevor Project: The Trevor Project is the leading national organization providing crisis intervention and suicide prevention services to lesbian, gay, bisexual, transgender and questioning (LGBTQ) young people ages 13-24. All services below are available 24/7.
- The Trevor Lifeline: 1-866-488-7386
- TrevorChat – Confidential online instant messaging
- TrevorText – Text START to 678-678
The Trans Lifeline: A 24/7 lifeline run by and for trans people, providing direct emotional and financial support to trans people in crisis
- Call 877-565-8860
- Find resources: translifeline.org
Educational Information and Resources
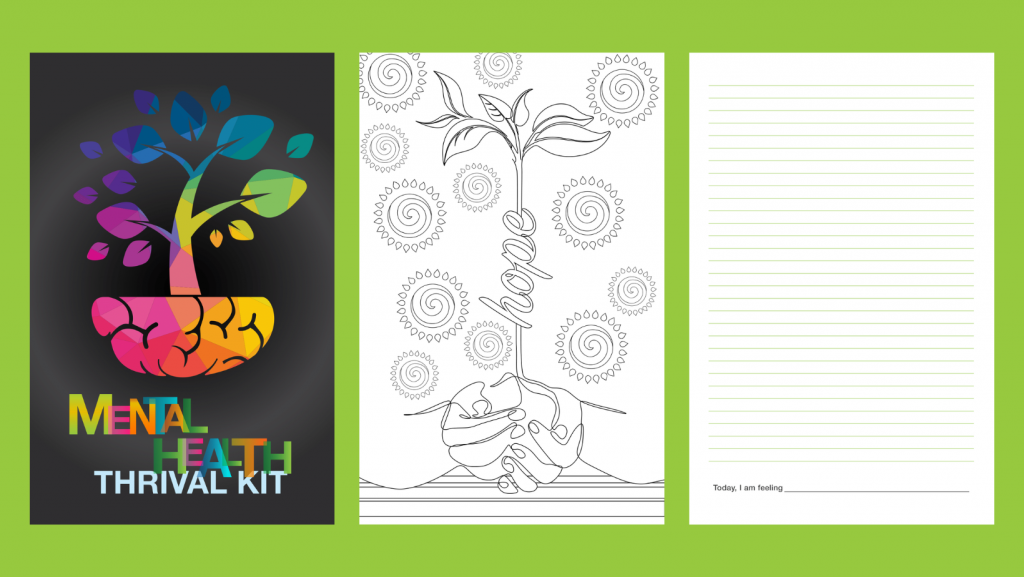
Take some time for journaling, coloring and deep breathing activities with our Mental Health Thrival Kit. Share the journal electronically or download the individual pages! To request or purchase kits please submit a request form.
- Mental Health Thrival Kit – English and Bookmark
- Mental Health Thrival Kit – Spanish and Bookmark
- Mental Health Thrival Kit – Adapted for Filipino-American Youth and Bookmark
- Mental Health Thrival Kit – Adapted for Korean-American Youth and Bookmark
Educational Videos: The educational videos are films produced by some of the Directing Change Team that discuss various mental health and suicide prevention topics.
- How to Help a Friend
- Suicide Prevention 101
- Mental Health Continuum
- Mental Illness & Stigma
- Mental Health Conditions
- Advocacy
Walk in Our Shoes Handouts for Middle School Youth:
Bring Change to Mind: Bring Change to Mind High School is a national anti-stigma campaign aimed at removing misconceptions about mental illness.
Learn how to save a life in 90 minutes. The California Dept. of Education, in collaboration with LivingWorks and the San Diego County Office of Education, launched a free online suicide prevention training program for teachers, staff, and middle and high school students in the state. LivingWorks Start is an easy, online, four-step program that teaches how to recognize the signs in someone who is struggling and connect them to help. If you are a middle and high school student, you can claim your free LivingWorks Start program here.
Steps and Resources for Creating Your Film
Need help getting started? Follow this step-by-step guide! Many of these resources have been adapted from other media festival websites.
Step 1: Brainstorm
First, review the submission categories and rules to learn how to create a high-scoring film. To get inspired, check out some examples of existing films below. But make sure to come up with your own idea and think of unique, creative ways to tell the story.
- Professional Examples:
- Student Examples:
- Check out the winners from last year’s contest
Step 2: Script and Storyboard
Once you have your idea, you will need to write a script and storyboard for your film. The script gives you a roadmap to your production and all the content that you will cover. In addition to a script, the storyboard allows you to visually plan your film.
- Resources:
Step 3: Permissions and Releases
Before filming your film, be sure you have all appropriate forms and releases signed. For more information, visit the Forms and Copyright section.
- Release Form: Every person on the submitting team (cast and crew) must submit a release form. For students under age 18 the form needs to be signed by their parent or a legal guardian. As of last year, Directing Change requests that all release forms be completed electronically:
- Release Form (English)
- Release Form (Spanish)If you or your team members are unable to sign an electronic version of the release form, please contact us and we will provide an alternative method of submitting release forms.
- Location Contract: The location contract protects both the property owner and the film production team. Getting permission is also a courtesy that can prevent you from being ejected from a location.
- Copyrights: When creating a film youth should be aware of intellectual property and copyright rules especially if they plan on using elements that someone else has created. See Steps 5 and 6 below for links to free images, music, and sounds.
Step 4: Shoot your Film
Before filming, you should plan each of the shots. If possible, you can use two cameras to provide different angles for the same scene when editing. Take time to look at the area you’ll be filming, paying attention to the background. Make sure to keep your video files in a safe place and if possible, keep copies on another computer or hard drive.
- Resources:
- Shots and Framing: Includes the basic types of shots and when to use them
- Rule of Thirds: A guide to using this photography technique when framing your shots
- Lighting Tutorials
- How to Use Microphones
Step 5: Edit your Film
Editing is an important step to the filmmaking process and may take longer than filming! You might have an editing program on your home computer, or you can find one through your school or local library. Tutorials specific to your editing program are usually available online. Remember, entries are limited to 60 seconds in length.
- Resources:
- Create a title slide using this Canva template
- Creating a film with your smartphone
- Video Editing Tutorials – Media College: Tutorials on various aspects of editing and software
- Top 10 Rules for Video Editing: Offers tips to consider when editing your film
- Kapwing: Popular free online video editor
- Adobe Express: Free online video editor
- WeVideo: Online video editor with plans available for schools
- Media Composer First: Free editing software available for Mac and PC
- HitFilm: Free editing software with many tutorials available on YouTube
- Copyright Free Images and Stock Footage: You can use these sites to find royalty-free visuals for your film.
Step 6: Add Sounds and Music
Unfortunately, you can’t download your favorite song for your film. But the following resources offer free music and sound effects that you can use! Please be sure to credit the website if you use their work. Although some sites offer “free” music, note that you may still have to request licensing for permission to use it in your film. Check out this resource from Vimeo with more information about copyrights and how to license music.
You can also record your own creation or find a local band that will record an original song for you and grant you permission to use the song. Check out free programs such as Audacity, GarageBand, Cakewalk. Other options include using royalty free music, legally obtained from a royalty free music website, or royalty-free CD collection.
Sound Effect Resources
- BenSound (this is a popular one!) A database of downloadable, copyright-free music and sounds. You will need to credit BenSound – for instructions on how to give credit, visit the FAQ.
- Incompetech: Free tracks, searchable by mood and instrument. The specific credit needed is shown when you download the track. The artist has a handy page that creates the exact credit to use based on which track you decide to incorporate in your film.
- FreeSoundtrackMusic.com: This page of music is organized by key words (emotion, genre, lead instrument, etc.). Any of the songs listed as “free” can be used for your film. Info on the credits process can be accessed here.
- OurMusicBox: A composer who has a range of his tracks posted, free for use under Creative Commons. Make sure to credit the creator and the track name at the end of your film! PacDV.com
- Free Sound Effects: Like the other resources, you can download and use these songs for free as long as you include this credit at the end of your film: “Sound effects by www.pacdv.com/sounds/”
- ccMixter: A community music site featuring remixes licensed under Creative Commons where you can listen to, sample, mash-up, or interact with music in whatever way you want.
- Mobygratis: Offers free ‘film music’, and is intended for independent and non-profit filmmakers, film students, and anyone in need of free music for their independent, non-profit film, video, or short.
- Free Sound: A collaborative database of audio snippets, samples, and recordings released under Creative Commons licenses that allow their reuse.
- Purple Planet: Free tracks to use for your film. Make sure to credit as written on this page.
- MusOpen: This is a non-profit organization that has classical and other (mostly instrumental) pieces available for free download and use. You have to sign up as a member (do the “Lite” membership for free downloads), and then navigate to the “Recordings” link for a given piece in order to download the song.
Step 7: Submit Your Film
Entries must be either 30-seconds or 60-seconds in length depending on the submission category. Please review this checklist before submitting your film!
Vimeo is our video services partner and all technical specifications need to be in line with their requirements. You will be asked to upload your film as part of the entry form. By uploading your film to Vimeo, you will automatically agree to their terms and conditions. Vimeo recommends that when preparing your video for upload, it’s best to maintain the video’s native frame rate when compressing your video. If your footage exceeds 60 FPS, they will automatically reduce the frame rate. Vimeo also recommends always choosing “constant” frame rate instead of “variable” frame rate. A codec is the format in which your video is encoded. Vimeo accepts most major codecs, but for best results they recommend H.264 or Apple ProRes 422.
- Vimeo upload guidelines
- Troubleshooting upload problems on Vimeo
- For more information on exporting your video to meet upload requirements, please view a tutorial on your particular editing software.
Other film festivals. Entries can be submitted to other film festivals after the March 1, 2023 submission deadline. Special note to students in Fresno, Kern, Kings, Madera, Mariposa, Merced, and Tulare Counties – Directing Change is partnering with the SlickRock Student Film Festival. We strongly encourage you to also submit to this festival if your entry is in the Suicide Prevention category, as the entry description and judging guidelines for both contests are aligned. More film contests:
- California Student Media Festival
- Student Educational Video Awards (SEVA)
- 48 Hour Film Project
- Art With Impact – monthly video contest open to all
- iVIE film festival – open to San Diego County youth
- Picture the Valley – open to Juniors and Seniors in Fresno County
Thank you!
Much of the information found on this page was adapted from the Student Educational Video Awards and many of the resources and links were adapted from the other film festival websites.